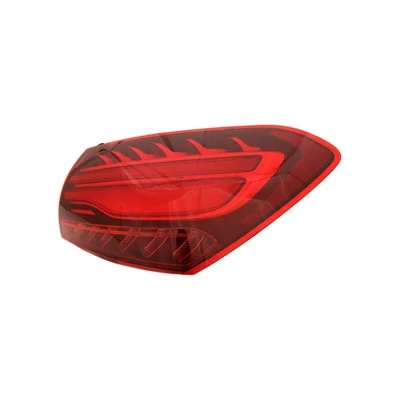
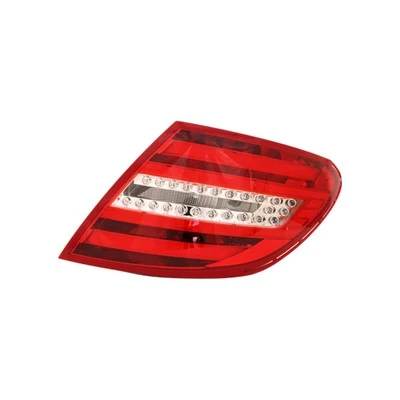
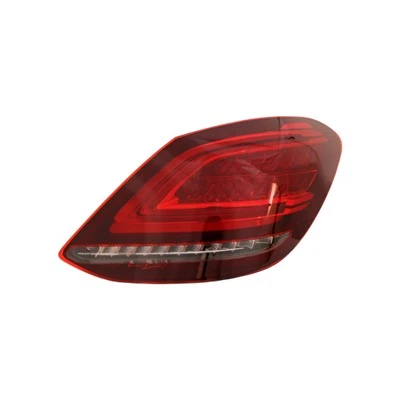
If a Mercedes taillight detaches, first check that the fixing structure (screws/clips) is intact and the wiring harness connector is disconnected. Do not attempt to force it back in. If the light body is undamaged and all parts are complete, you can reinstall it yourself following the procedure of "power off → alignment → wiring → tightening → testing." Otherwise, it is recommended to send it for repair to prevent seal failure or circuit malfunction.
Core Operating Steps
Safety Preparation: Turn off the ignition switch and remove the key. Disconnect the negative terminal of the battery if necessary. Prepare a Phillips/flathead screwdriver, an 8mm socket wrench, and a plastic pry bar.
Check Status: Open the trunk, remove the corresponding side interior trim panel clips, and check if the three fixing nuts on the back of the taillight are missing, if the locating post is broken, and if the wiring harness connector is intact.
Connecting the Wiring Harness: Align the taillight wiring harness connector with the interface and push it in smoothly. A "click" sound confirms it is locked (do not pull on the wires). **Installation:** Hold the taillight with both hands, first insert the bottom locating pin into the hole in the body, then gently push the upper part to reposition the side clips, ensuring even gaps.
Tightening: Reinstall the three nuts and tighten them diagonally (torque approximately 5-8 N·m; tighten to a firm feel, avoid stripping). Reinstall the interior trim panel.
Functional Testing: Connect the power supply and test the parking lights, brake lights, turn signals, reverse lights, and fog lights in sequence to ensure they function properly. Check the waterproof seal.